We use cookies on our website.
Some of them are necessary for the functioning of the site, but you can decide about others.
Finally, one of the most wanted features ever goes into early access:
Store all the heads you like in your own Head Collections!
Join our Golden Patreons to get early access for this awesome new feature!
Since I receive a lot of direct messages from people asking me about the process of making a skull, I decided to write this quick tutorial.
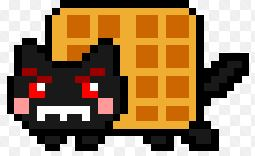
First, I find a picture of the item I am trying to make. In this case, Evil Waffle Cat.
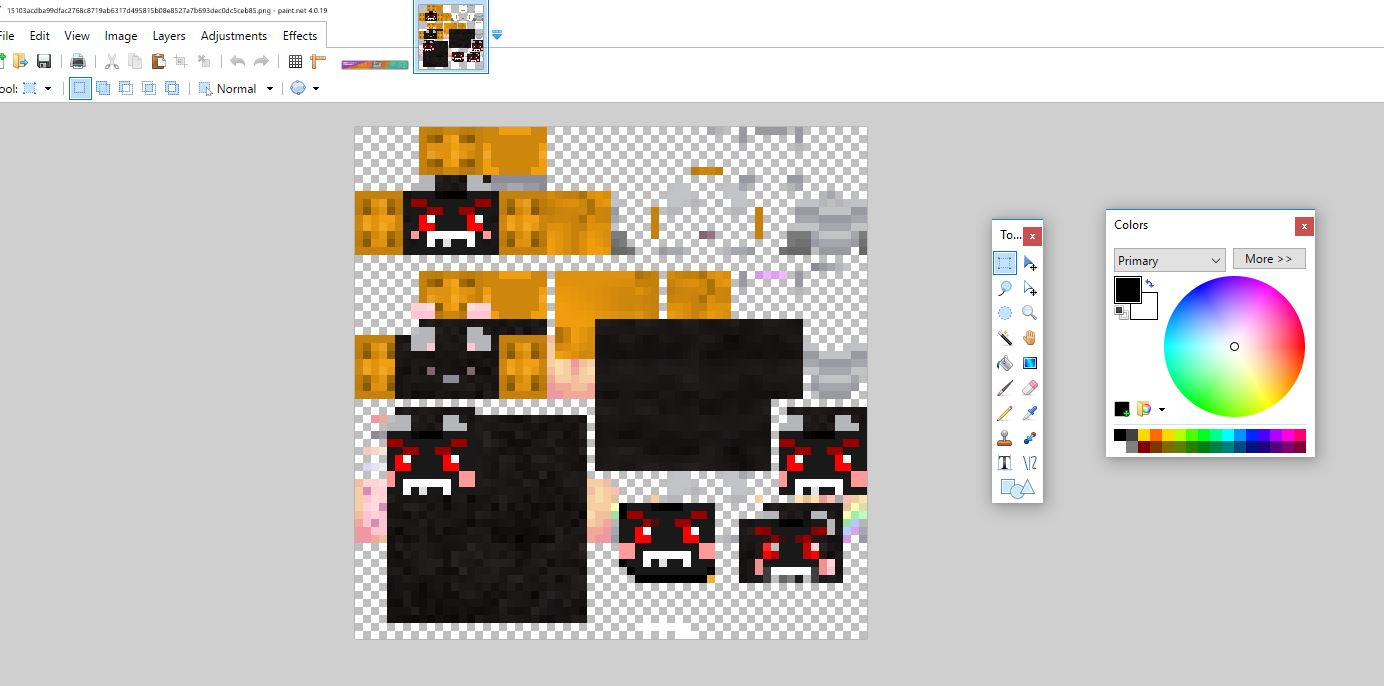
I then take the reference photo to paint.net and place the pixel by hand on a Minecraft skin base. It looks like a mess at first. This is a picture of my screen after an hour or two in:
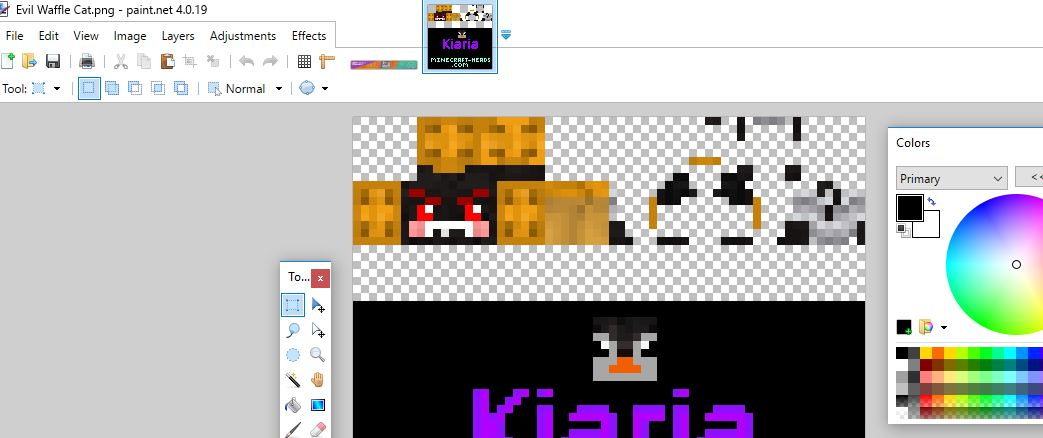
Eventually it settles into it's final form:
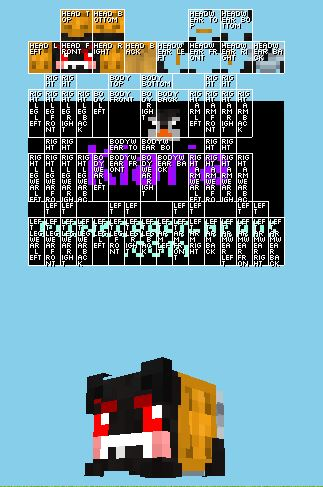
I test the look inMcSkin3Dprogram to make sure the design works.
I like to wait several days before finally submitting the head. I'll look back and notice things I was too tired to see, like an error, or a touch up to improve it.
I then load it as my own skin and use the head command generator to submit the skull into the database.
After it's approval, the users will see it appear in the new releases.
~Kiaria